3d models are used in many industries nowadays including medical illustration and animation. If you are interested in taking up 3d modeling as your career, there are many opportunities. If you are good at creating drawings, you might be interested in exploring 3d modeling. Now, there will be many questions that come to your mind such as what types of drawings are needed for a 3d model?

Lets discuss how 3d modeling is different than drawing, how they are similar and which is easier.
3d modeling is not harder than drawing in the sense that the computer assists you with automated lighting, texture application, and perspective changes. 3d modeling is not easy however, as it requires good knowledge of the tools in your modeling software, which are only sometimes intuitive like clay sculpting. Modeling software often has a steep learning curve.
Do I need to be good at drawing to be a 3D modeler?
When it comes to drawing, it is a 2-dimensional flat medium. You can put it on paper. You can easily hold the paper in your hand. The drawing represents the figure in an X-Y plane, whereas 3D is representation in the X-Y-Z plane.
There are different types of 3d modeling out there, such as polygon modeling, NURBS, subdivision surfaces, etc. All these types of 3d modeling do not demand great drawing skills. But, there are a few advantages that you can get if you are good at drawing. For example, you will have a better understanding of perspective if your drawing skills are really good. Also, it helps to improve the lighting on your 3d models. So, overall your drawing skills can help to enhance 3d modeling skills. However, there will be only a small advantage.
If you are new to 3d modeling and not good at drawing, it will take only a couple of months to learn the modeling software. You can quickly learn all the techniques to create good 3d models with the help of many tutorials available on the internet. Once you are good at using the software, your drawing skills may not be that important.
3D modeling by sculpting with a pen and tablet
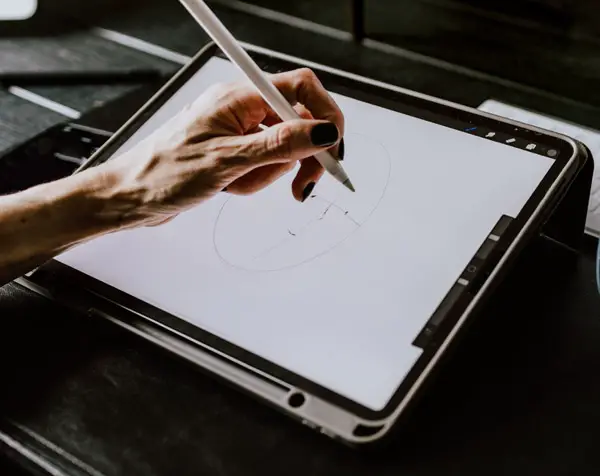
There are a lot of discussions going on amongst both professionals as well as amateur 3d modeling artists about whether a pen and tablet are needed for modeling a 3d object. If you use a mouse instead of a pen for sculpting the 3d model in such programs as Zbrush or Maya, you will not get good control. A pen will give you better control over each stroke. This type of 3d modeling is where good coordination and being used to drawing comes in handy. However, you dont need to have drawing skills such as shading, since it is sculpting.

When you use a mouse for sculpting, you need to press and hold your mouse and move it in different directions. You will be putting lots of pressure on your fingers, palm, and hand by doing this activity. If you continue it for a long time, you will get hurt.
When you sculpt using a pen and tablet, movement will be along with the hand and the shoulders. So, you will be more comfortable using a pen and tablet instead of a mouse.
Types of drawing required for 3d modeling
Now, we will look at the different types of drawings that are needed to create a 3d model.
1. Texture
It is the texture that brings the 3d model to life. You will have to use many textures to complete a 3d object. For example, if you are 3d modeling a person, you will have to get textures for the person’s face, different clothing, shoes, etc.
2. Basic 2D Shapes
Most of the 3d modeling software will need some 2D shapes to start the modeling process. The shape can be a simple one like a square, rectangle, circle, etc. It is pretty easy to draw such shapes. Sometimes, the shapes can be complex ones also. You can create complex shapes inside the modeling tool itself. Once the modeling software gets the shape, you can extrude the shape in the z-axis to make it a 3d shape. Again, no special drawing skills required.
3. Drawings from Different Points of View
If you are creating a 3d shape for industrial or medical parts, you need to be very specific about the part’s dimensions. Here, you need to create the reference drawings of the part first with appropriate dimensions. You will have to create drawings with different angles of view. It includes a front view, side view, top view, and bottom view. Once you create these drawings, you can feed them to the 3d modeling software. The software will create the 3d model taking these different angles of view as the input.
3d Modeling Vs Drawing
We will compare 3d modeling with drawing. It will get you a better understanding of the differences between the two.
1. Lighting
When you create a 2D drawing, you need to simulate lighting different portions of the image according to the lighting conditions that exist in your imagined picture. Some parts of the image will be under the shadows, whereas others will be in the light. It requires some skill and will come only through practice and observations such as those in real life.
In the case of a 3d model, lighting is relatively easy. First, you need to place the light source at an appropriate distance and angle from the subject. Then, you can easily see the lights and shadows created by the light source on the subject.
But, lighting plays a very important role in creating 3d art. So, it is essential to know where to place the light source (sun or artificial lights in the 3d software). Otherwise, you won’t be able to give the required feel to the 3d art, especially if going for realism.
If you are doubtful regarding the placement of the light source in a 3d software program, you can move it around and see the effect. It will help you to get a better idea. But this option is not available for a 2d image. You need to have a better pre-visualization in the case of a 2d image, such as with real life objects.
2. Perspective Learning
Perspective comes into the picture for both 3d and drawings. In the case of drawings, you need to have a better understanding of perspectives. Only then you will get the desired results in the drawing. On the other hand, you don’t have to overthink about perspective for creating a 3d model. You just need to enter the actual measurements for the model, scene camera settings such as field of view, focal length. Then, the camera in the 3d modeler will take care of the perspective part.
3. Creating the texture
If you want to create a texture in 2D, it will take a lot of work from scratch. For example, while drawing a wooden block in 2d, you need to give it appropriate texture to make it look like wood. It will take a good amount of time. You must also consider the light falling onto the subject while drawing the texture.
When you create 3d models, it is pretty easy to add a texture. You can apply textures for wood, metal, skin, etc. You can apply existing materials. You can modify them. You don’t have to think about lighting here. You can input the desired texture in 2d form to the 3d modeler software, and it will apply the texture to the model. This can be a photographed texture, a drawn one, or a combination. You need to know things like how to blend textures at edges, how to repeat them etc.
4. Fixing Mistakes
You will normally be making lots of mistakes when you create a 2d drawing or a 3d model. The point here is how easy it is to fix your mistakes in both cases.
If you consider the case of a 3d model of a person, you can change the clothes and lights separately in the model. If you make any mistake in clothes or other parts of the model, you might have to resculpt, remodel the polygons, or go back to the original curves used to make the model. This can be time consuming but the software may have the later steps already saved in modeling history so that all you may need to change is the original curves.
In the case of a 2d drawing, fixing a mistake can be really tough, especially if the medium does not allow erasing. Even if you draw on a tablet with layers, it will take some time.
5. Getting feedback through the creation process
It is always good to get feedback from the tool during the creation process. It will help in both 3d as well as 2d. This feedback mechanism is available for 3d modeling. The 3d modeler software will allow you to see the texture applied as well as the light during the modeling process. It will help you get a better idea of how your 3d model will look. Thus, it allows you to make the necessary changes in your workflow to improve your model. There is no need to wait to see the final finished model to see how it looks. It helps to fix the mistakes and improve your 3d model.
In the case of drawing, you will be able to figure out how it will look only in the final phase of its creation. So, you need to be more precise and accurate when you create a drawing. There is no scope for fixing errors during the initial creation phase. It makes the drawing really tough compared to the 3d modeling part.
6. Segmented approach
The 3d software programs follow a segmented approach for creating 3d models. The three main components of both 3d as well as 2d drawings are color, composition, and lighting. The segmented approach in 3d allows you to isolate each of these parameters and try them on your design to see the impact, for example you can move objects around in your scene freely to change composition.
When you take the case of a drawing, all these three parameters work together. You cannot isolate one and go ahead with your creation.
Here is an interesting video on Blender 3D software and drawing:
Consider reading this article on which is better for modeling, Maya or 3Ds Max.
